Week 4 Recap
UUUGGGGGGHHHH.
That’s it. You’re all caught up.
Week 5
Week 5 started with some strong Week 4 vibes. I haven’t been able to work on my room for the One Room Challenge as much during the week as I planned. Apparently a day job, grad courses, and keeping a baby alive can really take up some time.
At the start of the week I told myself I have one goal: finish the headboard.
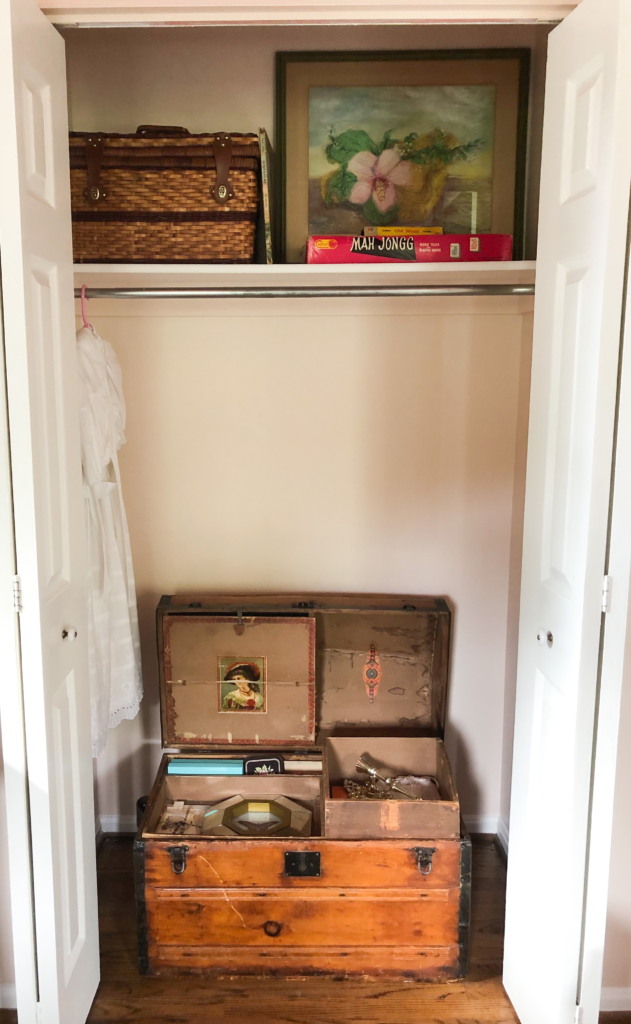
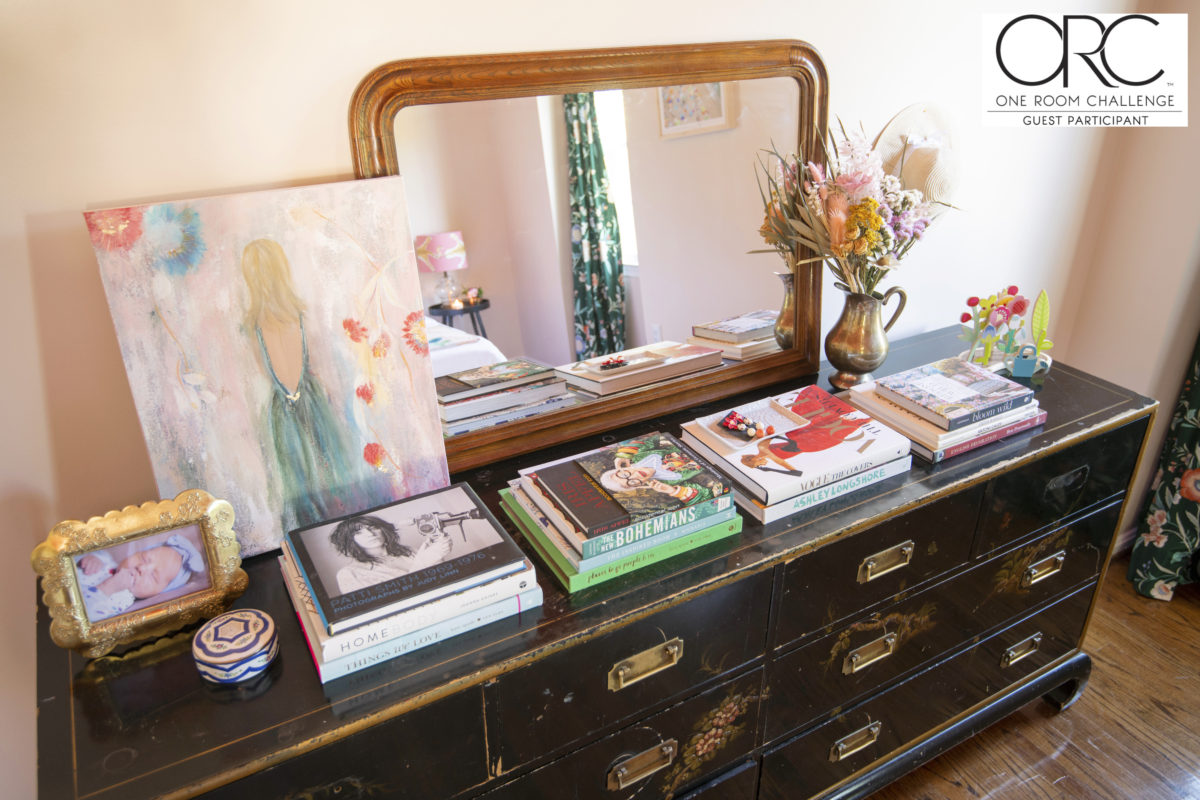
Well. Didn’t look like THAT was going to happen so I told myself no for real…I have one goal: clean out the closet and the dresser. It was no small task. Both the closet and the dresser had become storage for my secret stash of home goods and thrifted finds. I ended up with a car full of give-aways and I already regret like two of the things I dropped off at the thrift store.
BUT TWIST! I finished the headboard too.
Sort of.
I need to reinforce the back but couldn’t wait to see what it was going to look like in the room. I know it’s not perfect, there are some gaps between the wicker and the tufted portion, but I’m hoping that I can fix that this weekend. And if I can’t — eff it. It still looks pretty good.
I know you’re dying for a tutorial so I’ll share one and a materials list after you oooh and ahhh over my great success.
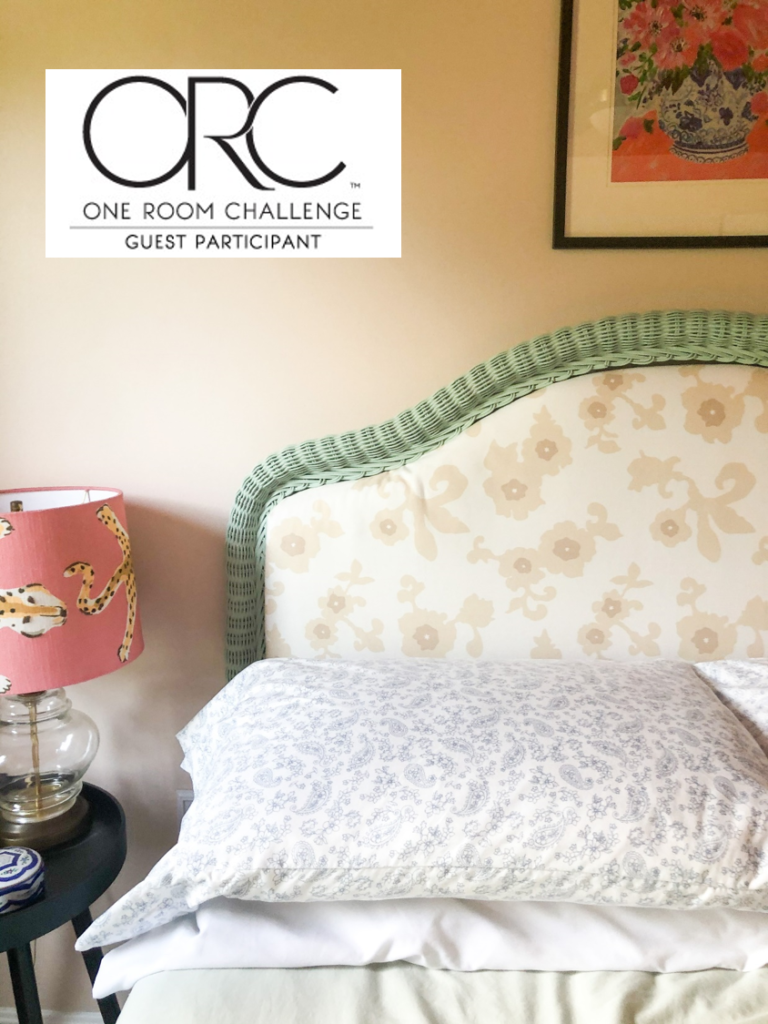
Did you do it? Oooh and Aaahh. If you would like to replicate this $20 headboard hack at home be sure to follow these step by step directions.
Materials:
- A wing
- A prayer
- Zip ties
Directions:
- Wing it
- Pray on it
- Zip tie it
You’re welcome.
I was going to take a picture sprawled across this bed like Burt Reynolds on a bear skin rug but no one wants that. I’ll leave you with this instead.
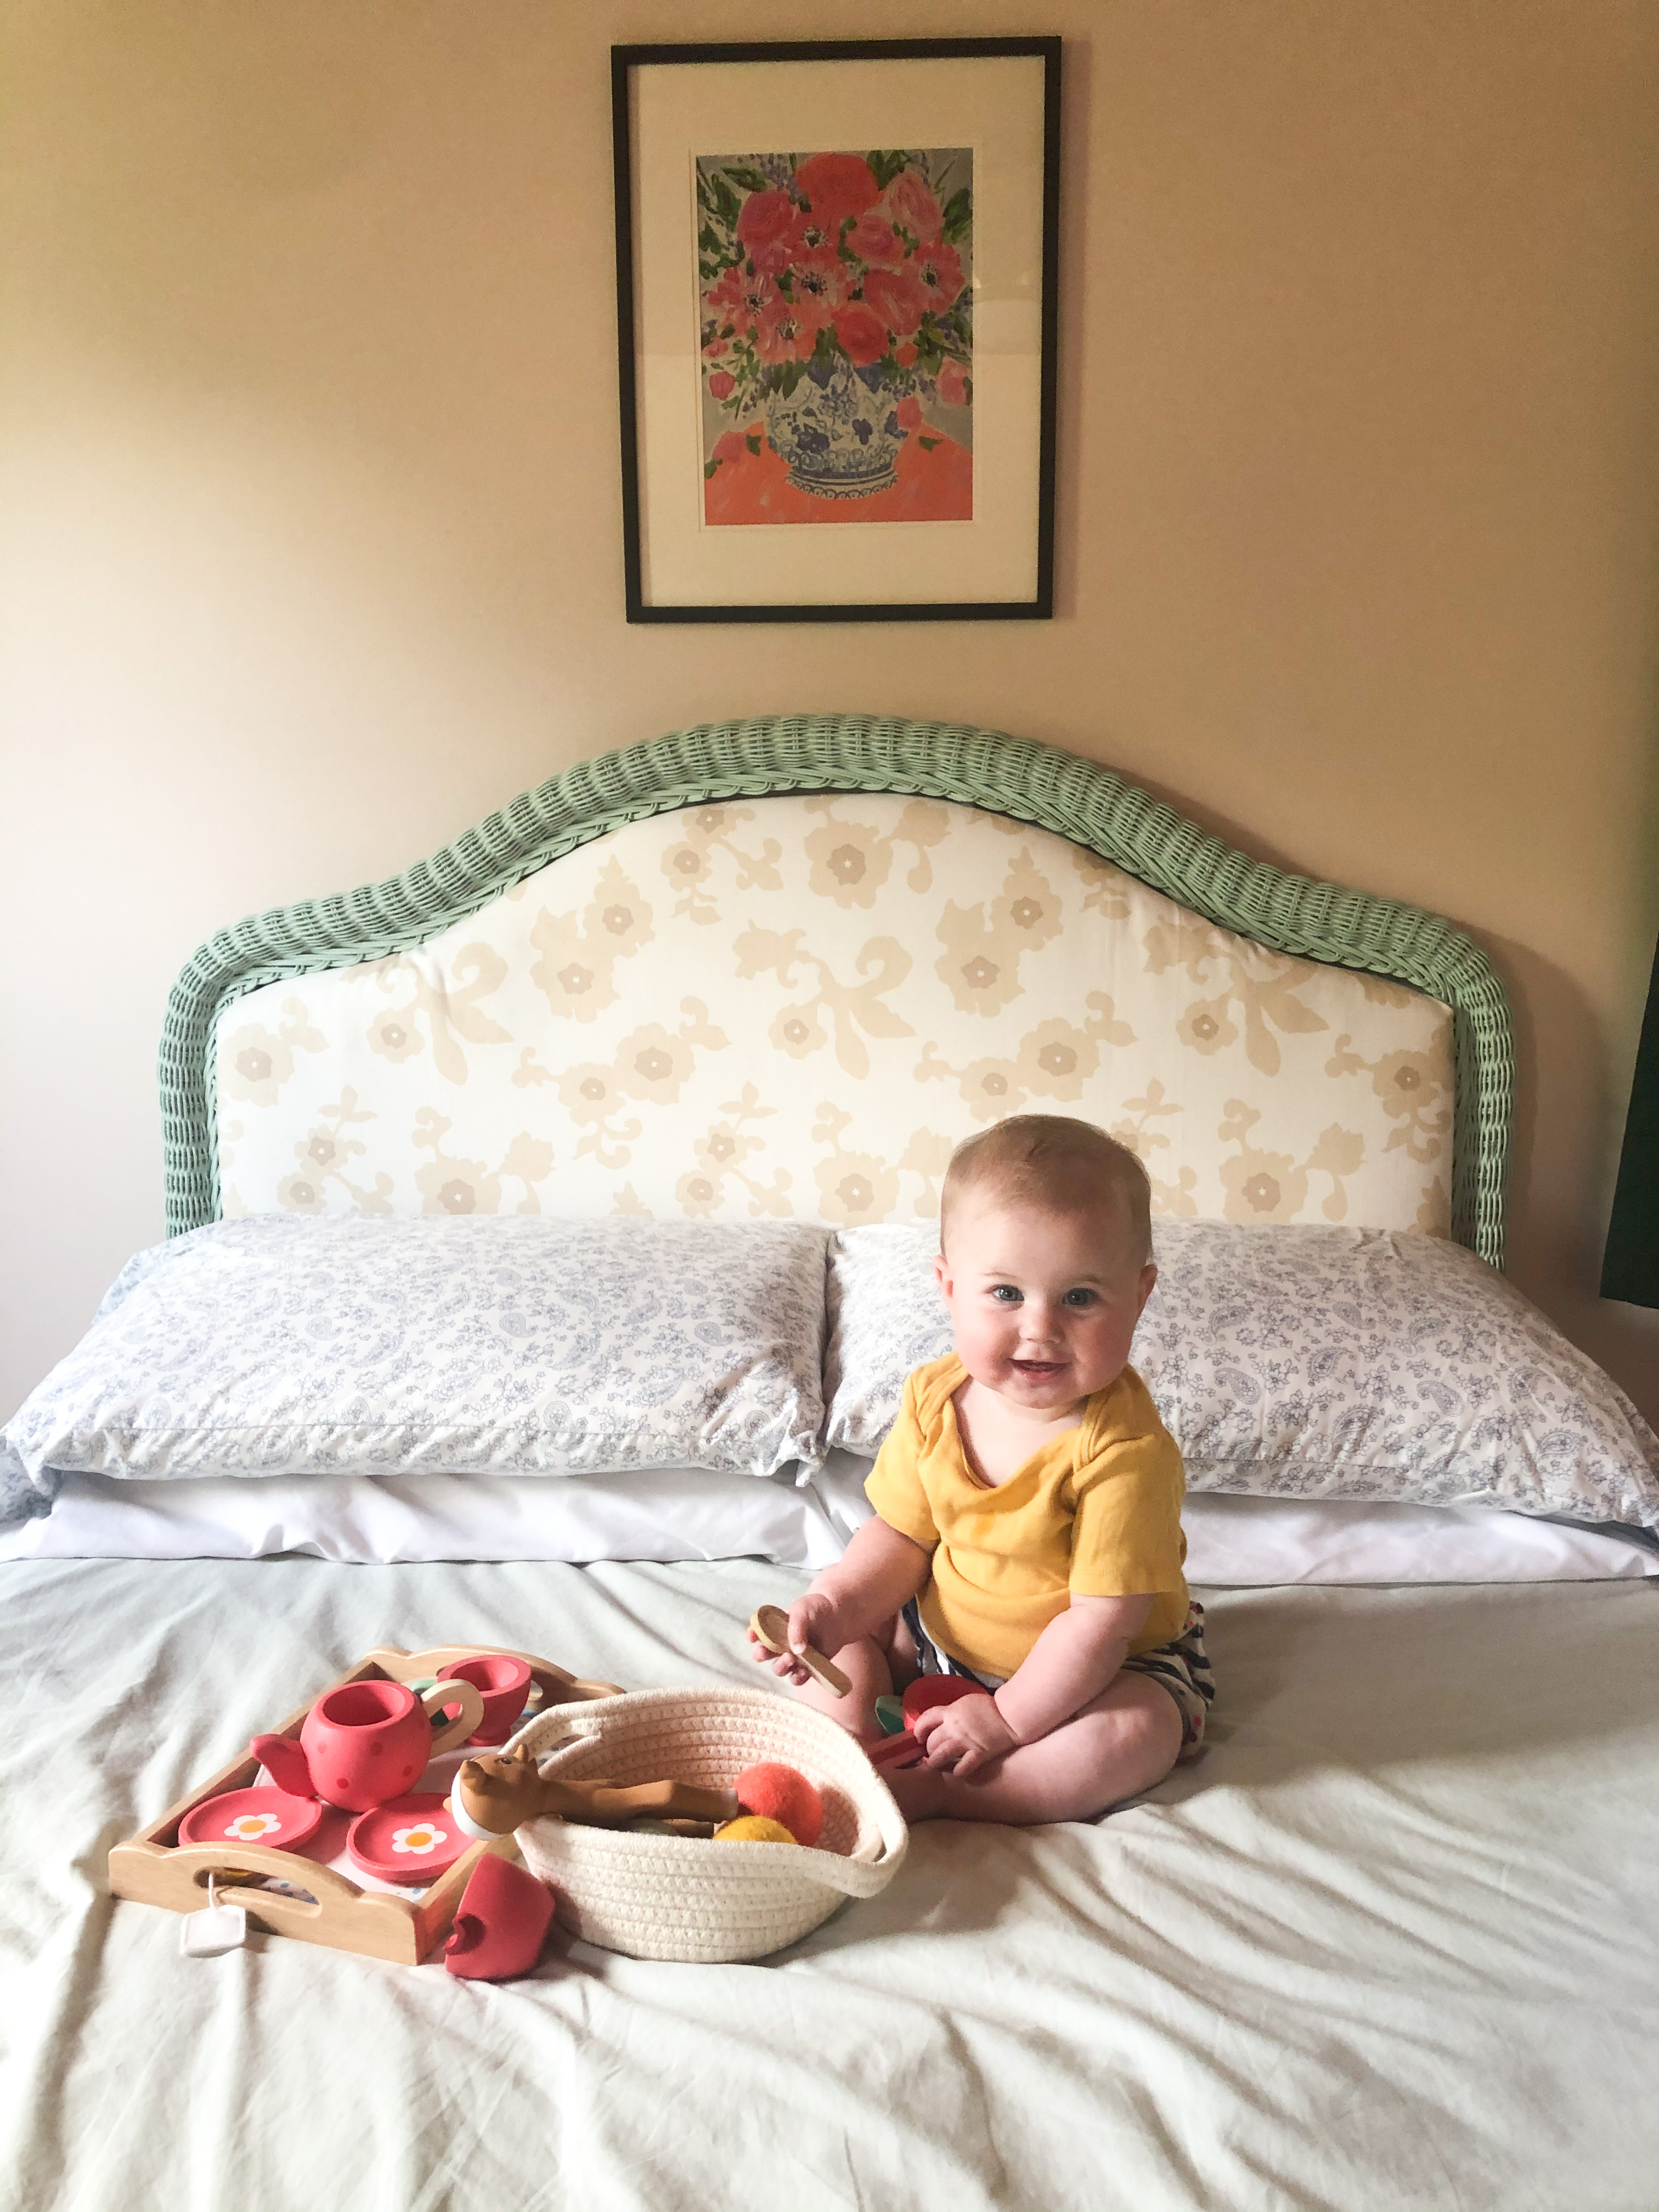
If you hire me to do your next interior project I can promise you two things: I will not make you do any DIYs and you can have tea with this micromanager.


Comments
This was a very informative DIY, I plan to try this weekend 😂
A wing and a prayer and zip ties seems like very good DIY advice! I adore the headboard and the sidekick!
Always bring zip ties on a wing and a prayer DIY!! This looks fabulous!!